
 This is my small box of recyclables that I'm intent on keeping because I've just got too many crafty ideas for whats inside, I hope someday I will follow through and turn this "trash", as my husband calls it, into treasures.
For the past few weeks I've been in a major reorganization mode. I'm reading Totally Organized by Bonnie McCullough and trying to get control of my house! (especially the craft room) I've purchased big shelving and drawers from Ikea and I'm almost there. I'll be posting before and after pics at a later date. Through the process I've downsized and assembled my collection of recycleable materials suitable for crafting. Here are some pics of what is in the box:


Of course I have various paper scraps, so hard to throw away! And these candle holders, what should I do with them?


Keyboard innards from our Robot Challenge. Glass bottles that had cool shapes.


The remains of ribbon spools and of course toilet paper tubes!
What am I planning to do with all this junk? I can't get rid of it because I have so many ideas to upcycle it!
My favorite is this:
 I saw this a while back and started keeping all my Dublin Dr. Pepper bottles, but then there were way to many so I am now limited to the bottles I have until I actually do something with them. Find the instructions here.
 Bottles also look great with a few coats of brightly colored spray paint, find more ideas at Someday Crafts.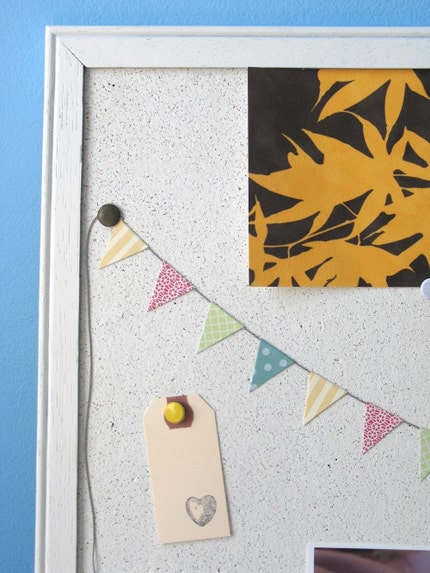
I've been wanting to make tiny flag buntings with my little paper scraps, maybe color them with water color or paint, write a message on them, cute! This one I found on Etsy.
 This is the coolest thing to do with the keyboard insides, instructions here. Or I was thinking of making a journal cover....
  I made these coasters a long time ago with the ribbon spools and foam sheets that already have adhesive on the back, simple and fun! So, of course, now I have to keep all my ribbon spools.
 Some of you may remember my post from last October, showing what to do with toilet paper tubes, now I can make a huge one!
But what should I do with those candle holders?
Do you have a bin of "trash" that you can't part with for crafty hoarding reasons? My advice is keep it limited to one box, and only add to it after you've taken something out, that way it won't overtake your whole closet. And someday make something with all that stuff! Let us know if you have.


