Showing posts with label paper crafts. Show all posts

Friday, April 29, 2011

Jesyka's Pinwheel Tutorial


Making the Pinwheel


Don't forget your materials!

1) Take your square of paper, and create guides from each edge toward the center, about 2/3s of the way down. Mark the center. You can do this with either a ruler, or by folding the paper in half from corner to corner, and cutting along the folds.

2) Cut your paper from the edge to the guide. If you are using a paper cutter, it's easy to align the edges across a diagonal to ensure that your cuts all point toward the exact center.

3) Punch a hole at the bottom right corner (or bottom left -- just make sure its the same corner!) of each triangular flap.

4) If your hole punch doesn't have enough give to punch the center hole, use the edge of the skewer to punch the hole. :) If you manage to punch a hole with your hole punch, place the center hold on the edge of a skewer. This helps to keep the holes lined up while we fold in the edges.

5) Put a dab of hot glue near the center. Try not to cover the skewer too much (a little is okay), or you'll have a difficult time getting the skewer back out.

6) Place the holes on the edge over the skewer. It's best to go in a rotational order. Glue in between each layer if needed. Now we have a basic pinwheel! I prefer to have a more finished piece, so I like to make a centerpiece to go over the little flaps in the center.
Making the Centerpiece

7) Get out your small square of paper and corner punch.

8) Punch those corners!

9) Using your hole puncher, punch a hole in the middle.

10) Add a bit more glue to the center.

11) Place the small paper over the skewer. I like to place it so a corner of the the small paper is in the center of each flap.

12) Place an eyelet in the center. Use the eyelet setter to really help it stick together, and keep it sturdy. The pinwheel is done and we are ready for the next stage!
Making the Pinwheel Stick

13) Place a small dab of hot glue at the blunt end of the bamboo skewer.

14) Cut your ribbon at a 45° angle and place the edge flush against the top of the blunt end of the skewer to get the ribbon to twist nicely and evenly around your skewer. To ensure you have enough ribbon, do not cut the ribbon from the spool until we are done wrapping.

15) Continue wrapping the ribbon around the skewer.

16) Place a small bit of glue at the tip of the skewer.

17) Cut the ribbon after you wrap it around the glue. Now get out your wooden beads!

18) Place the bead on the end of the skewer. Add some glue to make it stay! (not shown).


Assembling the Pinwheel

19) Slide a couple of beads on to the pinhead.

20) Next, slide the pinwheel on, front facing the pinhead.

21) Pull the pin through the back.

22) Add a few more beads to the pin.

23) Stick your pin through the ribbon-wrapped skewer about an inch and a half down from the blunt edge. If you're having trouble, use an ice pic or a nail and hammer to start the hole. :) At this point you'll want to make sure it spins, so blow on your pinwheel. If it gets stuck, you'll want to add more beads between the pinwheel an the skewer (you can see how I added a fourth bead to ensure that it spins nicely).

24) Using your wire cutters, trim the excess pin.

25) There will be a little knub left, which could cut someone, so;

26) Put a dab of hot glue over the knub to protect fingers. You could cover with another bead or another piece of ribbon if you want to distract from it.

27) Glue a bead on the top, if you have not already done so.

28) And we are done! Admire your completed work. :)


Thursday, April 28, 2011

Jesyka's Pinwheel Tutorial: Materials List


I made these sweet pinwheels for favors and decor for my daughter's birthday party, and although I know there are plenty of pinwheel tutorials out there in blogland, I thought I would make my contribution seeing as these are a bit more elaborate than I have seen elsewhere. Since the materials list is long, (and I need a bit more time to prepare the step-by-step guide--Laelia is napping less and needing mommy more!), I'm releasing the materials list first, and hopefully I'll have the tutorial ready to go tomorrow! Stay tuned!


1) Paper! A lightweight cardstock works best, too thin and it doesn't have enough substance, and too thick it's too hard to fold, although any paper will definitely work. We even used some spray mount and glued some wrapping papers together to make some pretty double sided sheets (wrapping paper is great for many things, it's so cheap compared to the expensive sheets used for scrapbooking!). We did 6" x 6" for the large wheels, and 4.5" x 4.5" for the smaller wheels.


2) Scissors - For cutting slits in the paper. Alternately, you can use a paper cutter. I used both, depending on what was closest, they both have their advantages and disadvantages. A paper cutter will assure you a straight measured line, but there is something satisfying about picking up and just eyeballing a 45° angle...


3) Wire Cutters - The sort you'd use for jewelry making will work just fine. These are to cut the backs off the pins once we have them through the skewers.


4) Ribbon - To wrap around the skewers. Make. Pretty.


5) Eyelet Setter - To help set the eyelet in the center of the pinwheel. I have this set from JoAnns.


6) Beads - I used some glass beads I have had for about 15 years! Any beads larger than a seed bead has potential to work here.


7) Eyelets - These came as a set with the eyelet setter I bought. Use these at the center of the pinwheel.


8) Pins - A pin with a decorative head will work best, or you can glue a button or a cabochon will work as well. Just make sure that the pin head is large enough to hold on a bead. I bought these pins to hold the ribbon on the bouquets for my wedding. :)


9) Large Wooden Painted Beads - These go on the ends of the skewer to finish it off nicely. I bought a big pack of wood beads like these from JoAnns.


10) Hole Punch - You'll use this to punch holes, of course! Use a small hole punch.


11) More Paper! - These are 1.5" x 1.5" pieces of paper that get prettied up and are used in the center of the pinwheel.


12) Fancy Edge Cutter - To pretty up that piece of paper I was just typing about. :)


13) Bamboo Skewers - Use as the base of the pinwheel.


14) Glue Gun - We can always use a glue gun!

Saturday, June 12, 2010

Artist Spotlight: Brandy Davis of Pigsey Art

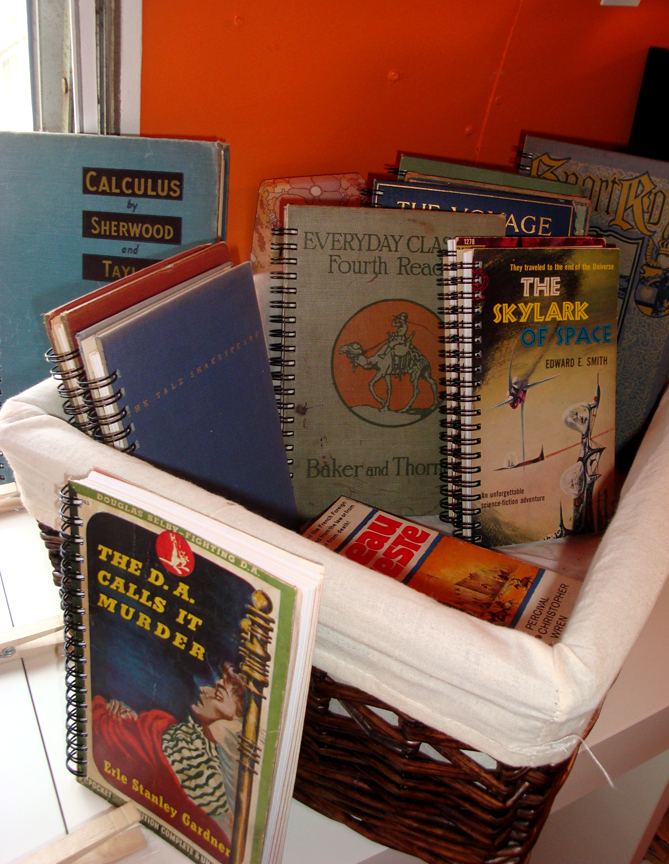
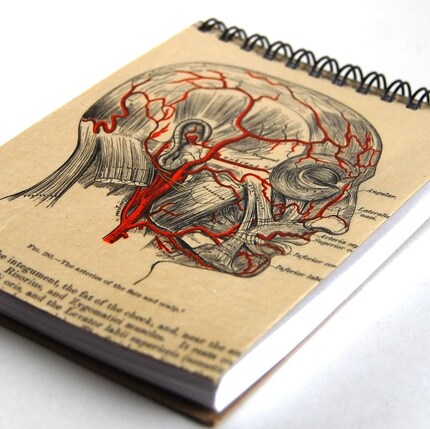
We have the great pleasure of knowing and representing in our boutique one very talented and very funny crafter by the name of Brandy Davis, owner of Pigsey Art. I first met Brandy almost two years ago, at one of the first EtsyAustin meetings and her sarcasm and wit won me over immediately, and that was even before I saw her amazingly creative products!Brandy's journals are only the main feature of her unique business which includes magnets (which we carry in Stella's Boutique), bookmarks, and even pendants, all showcasing her love for vintage books and illustrations.

I was able to get Brandy to answer a few questions for me in order to give you a little insight into her business and what she's got goin' on. Check it out:
How and when did you decide to start your crafty business?
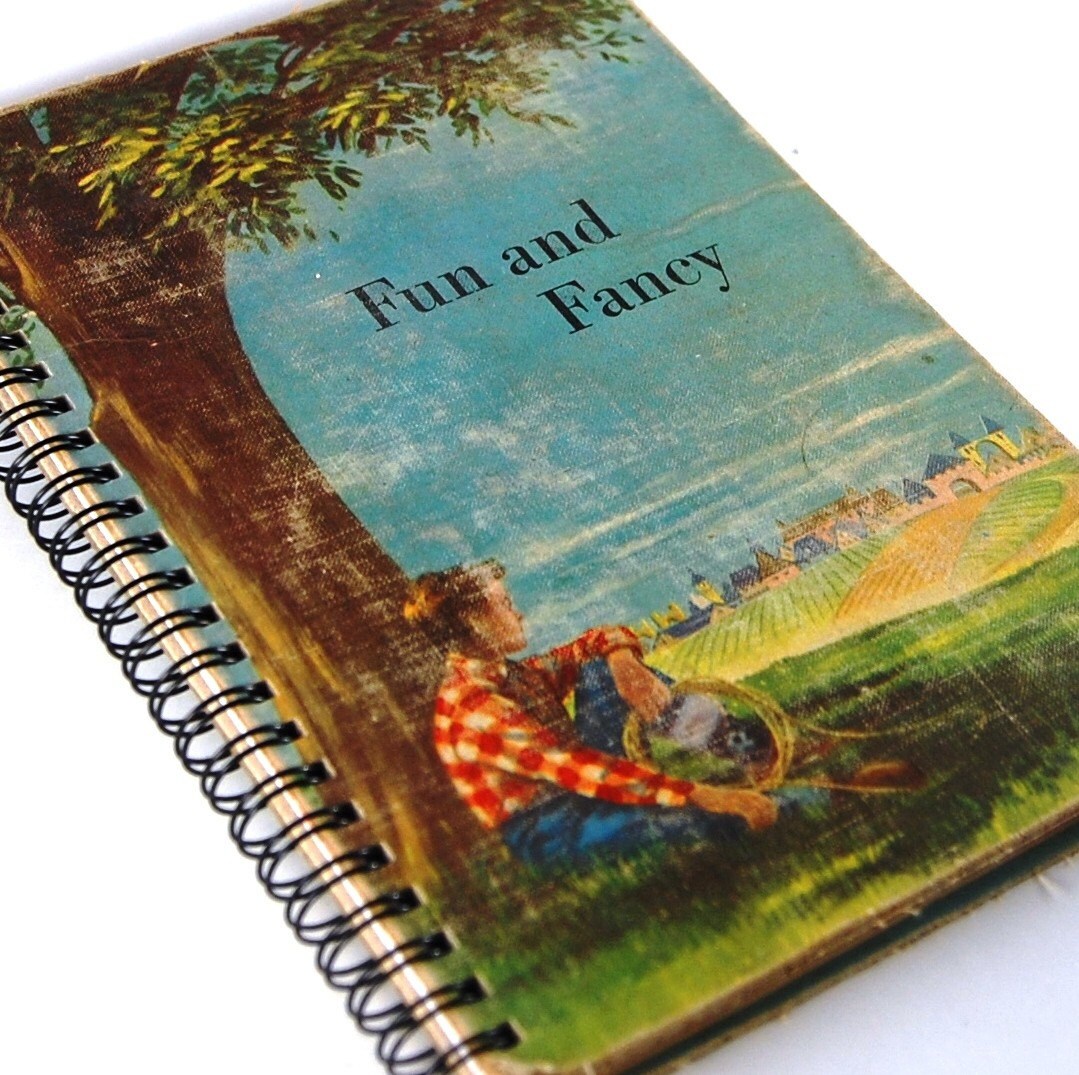
I had been doing traditional bookbinding as a hobby for many years before I discovered Etsy which is really what pushed me into creating a business. At first, I did some simple paper products to continue my hobby for fun in my first Etsy store in early 2007. By the end of 2007 I had decided to make Pigsey Art a serious business and focus on my love of journals and unique products. In 2008 I went down to a part-time job to make Pigsey Art more of a success as my focus turned to doing local art and craft fairs. Now, I work at Pigsey Art full time out of my spacious workroom in my house and have never been happier.What is your favorite product to make? I love the old school readers in particular, I get really excited when I find a box of them. The classic stylization and dynamic illustrations easily make them my favourite books to turn into journals. People seem to love them too because of the childhood nostalgia they provoke.Anything new coming up? I am actually just starting to get the framework together to start screen printing on blank book covers and I plan to have a line of them rolled out by the fall. It's really exciting to start a new product and offer even more diversity to your loyal customers.

What is your favorite local business? I am an absolutely huge fan of Craft Chi owned and operated by Amy Ybarra-Murphy. I love her screen printed images which are classically simple and reminiscent of nature. She uses a fabulous combination of colours and organic fabrics in a wide range of products, many of which I own. I'm even having her make some custom items right now, I love her! (We also love Craft Chi and carry several of her products in our boutique.)

Thursday, June 10, 2010

Wedding Bonanza

Beth A here, writing from California. I'm out here for the first two of 6 weddings I'm attending this summer. Two of my friends were married last weekend and two more this weekend, and so inspired by all these weddings I thought I'd post about some of my favorite DIY wedding crafts and tips.


First, an easy and great way to add color and flowers without the cost of real flowers, tissue paper flowers add a great pop to any celebration. We even used these to decorate our booth at the Renegade Craft Fair. The how-to is available from the Martha Stewart Weddings DIY blog here.I'm also really inspired by this wedding blog called Once Wed and their DIY projects, especially this cute centerpiece idea:

What WonderCraft DIY day would be complete without a t-shirt craft? Here are some beautiful flowers made from old t-shirts, tutorial and kit available from Alabama Chanin. This is the next craft I'm going to try out for sure! We've still got so many scraps to get through...


Monday, September 21, 2009

We Make Stuff like Wacky Pinback Buttons and Cardboard Wallets


Strange, but true: button-making is really addictive! We just bought a button-maker for The WonderCraft & I am in love! It arrived a few days ago, just in time for the We Make Stuff event on Saturday night. We decided to offer Design-Your-Own buttons to patrons, and boy was it ever a hit!


Here are a couple of cutie pies with their buttons. They were a fun & sweet pair (unfortunately I did not get their names). There's just something really satisfying about framing a pretty patterned paper or a random magazine pic in a 1-inch button.


My fave of the night was the Drew Barrymore eye that I cut from a makeup advertisement. Bonus: the resulting eye-less photo was pretty cool in itself! although a bit creepy. It got even creepier later when I made a second button with her other eye for someone else.

I loved my Drew Barrymore Eye, but alas, she is already gone. I think I lost her at Magnolia Cafe, where the WonderCrafters & their menfolk were enjoying a late night (early morning) post-event dinner. When I arrived home and was getting ready for bed, I realized she was no longer pinned to my shirt. So if anyone sees Drew Barrymore's eye peeking up at them somewhere along S Congress, please let me know. I miss her.

We had a sweet DIY Upcycled Cardboard Wallets make & take station that was a huge hit, too. People were making the most amazing stuff!


Also, Trevor Ray Thompson was there with his fantastic photo booth setup. Fun stuff! Congrats & thanks to Candace of Electric Promotions (shown here with the awesome giant scissors she made) for throwing another smashing par-tay celebrating our local art & craftsters! See more pics from We Make Stuff in The WonderCraft's Flickr stream.


Thursday, August 20, 2009

Rubber Stamp Carving

There is still room in this class next Wednesday evening. Such a flexible skill to learn.

I made all these stamps to work on a book making project. I used black ink and stamped them on white paper. Then, after the ink was dry, the images were scanned so they could be used on my digital projects but still maintain a hand made feel.


Rubber Stamp Carving - Adults - 8/26/09

Carving your own unique rubber stamps allows you to add a personalized touch to your paper creations. In this class you'll design and carve 2-3 small rubber stamps and create a set of note cards with them. Once you learn the technique, you'll be able to turn any of your artwork into a rubber stamp for use on stationery, gift wrap, your own business cards and more!


Here is a picture of the one tool you'll need to buy. I know I like to see what the tools look like before I shop for them. Makes it easier to know what you need :)